
Have you ever wondered how to build a gaming keyboard? A custom gaming keyboard can make a difference in your gaming experience, offering improved performance and unique features that set it apart from regular keyboards. In this blog post, we will walk you through the process of creating your own gaming keyboard, from understanding what makes a gaming keyboard different, to making it light up and change colors. By the end, you’ll have all the information you need to build your own custom gaming keyboard.
Table of Contents
- What Makes a Good Gaming Keyboard
- Are Custom Keyboards Good for Gaming?
- How to Build a Gaming Keyboard
- How to Make Your Gaming Keyboard Light Up
- How to Make Your Gaming Keyboard Change Colors
- How to Make Your Gaming Keyboard Quieter
- Cost of Building a Gaming Keyboard
- Conclusion
What Makes a Good Gaming Keyboard
A gaming keyboard has features that differentiate it from a regular keyboard, including:
- Responsive switches: Gaming keyboards often use mechanical switches that provide tactile feedback, enabling faster and more accurate key presses.
- Anti-ghosting and N-key rollover: These features prevent missed key presses and ensure multiple keys can be pressed simultaneously without conflicts.
- Customizable backlighting: Gamers often want their keyboards to light up and change colors to match their setup or mood.
- Programmable keys: Many gaming keyboards offer programmable keys that can be customized with macros and shortcuts for specific in-game actions.
- Ergonomics: Comfort is crucial for extended gaming sessions, so gaming keyboards may have features like wrist rests or adjustable heights.
Are Custom Keyboards Good for Gaming?
Building a custom gaming keyboard allows you to tailor it to your specific needs and preferences, resulting in a better gaming experience. Custom keyboards can:
- Provide enhanced performance with your choice of switches and keycaps.
- Offer personalized aesthetics with unique designs, materials, and lighting effects.
- Improve ergonomics by allowing you to select the optimal layout and size for your hands.
- Enable greater control with programmable keys and custom firmware.
How to Build a Gaming Keyboard
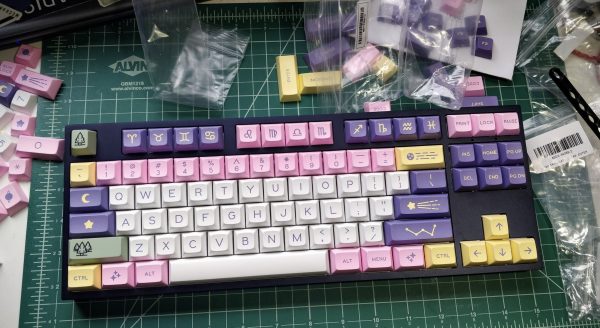
Here’s a step-by-step guide on how to build your own gaming keyboard:
- Choose a layout: Decide on the size and layout that suits your needs, such as a full-sized, tenkeyless (TKL), or 60% keyboard.
- Select a PCB: The printed circuit board (PCB) acts as the keyboard’s brain, so choose one that supports your desired layout and features, like programmable keys and RGB lighting.
- Pick switches: Choose mechanical switches based on your preferred typing feel, actuation force, and sound. Popular options include Cherry MX, Gateron, and Kailh.
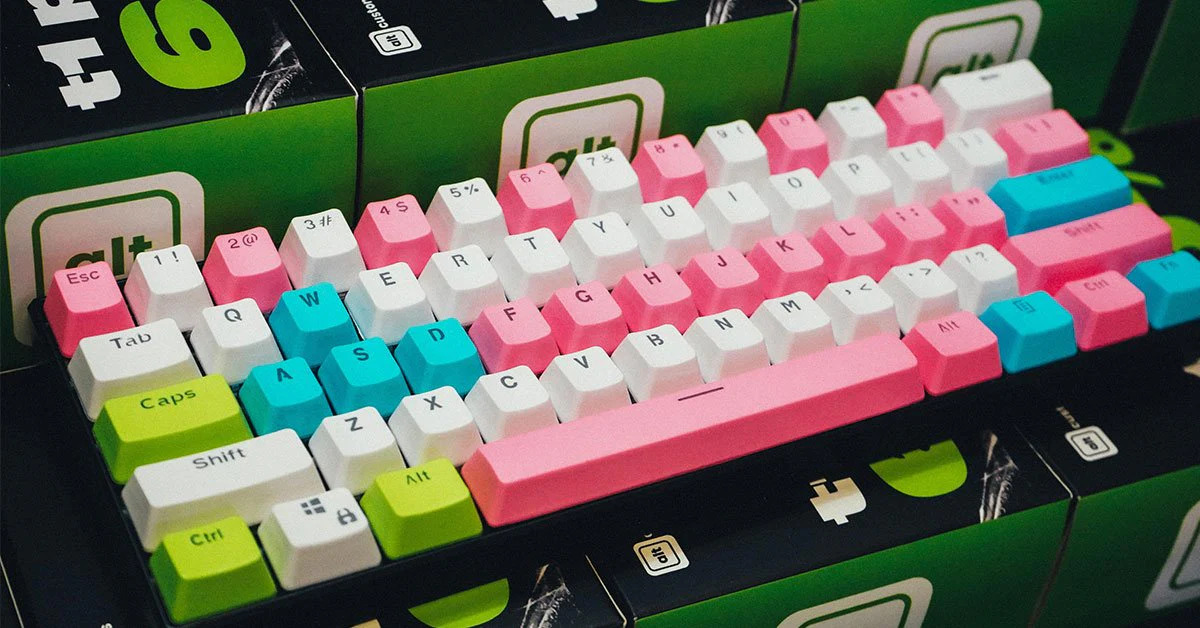
- Get keycaps: Select keycaps based on your desired material, profile, and aesthetics. PBT and ABS plastic are common materials, while profiles like OEM, Cherry, and SA can affect the typing experience.
- Choose a case: Find a case that matches your desired layout and material. Options include plastic, aluminum, and wood.
- Assemble the stabilizers: Stabilizers are essential for larger keys like the spacebar and shift keys, ensuring smooth and even key presses. Install them onto the PCB.
- Solder the switches: Carefully solder the switches to the PCB, making sure they’re aligned and seated correctly.
- Program the firmware: Customize your keyboard’s functionality by programming its firmware. Tools like QMK and VIA make it easy to create custom keymaps and macros.
- Install the keycaps: Finally, attach the keycaps to the switches, making sure they’re securely seated.
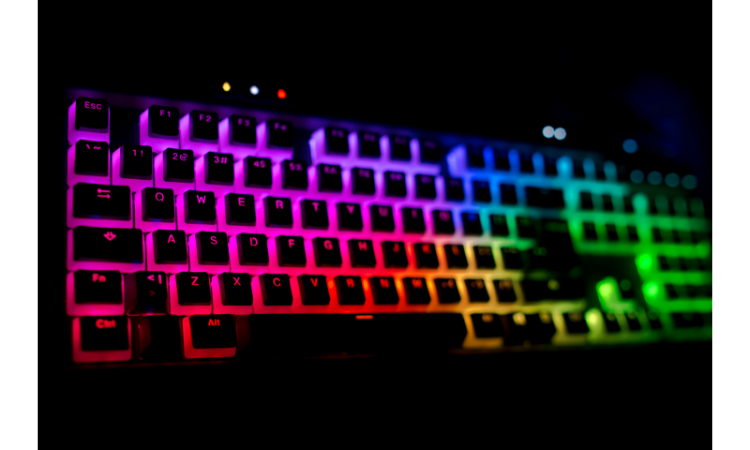
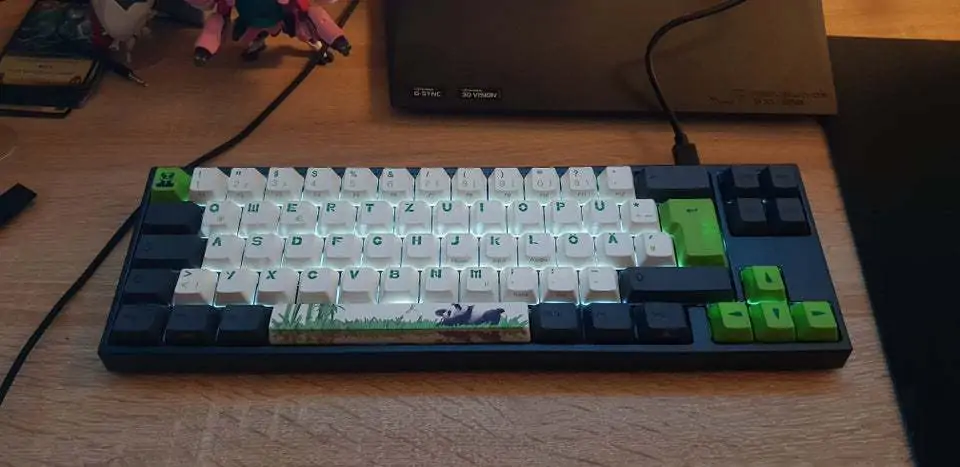
How to Make Your Gaming Keyboard Light Up
To make your gaming keyboard light up, follow these steps:
- Choose a PCB with RGB support: Ensure your chosen PCB supports RGB backlighting or underglow.
- Select switches with transparent housings: Opt for switches with clear or translucent housings to allow light to shine through.
- Pick keycaps with shine-through legends: Keycaps with transparent legends will enable the backlighting to be visible.
- Install RGB LEDs: If your PCB doesn’t have built-in LEDs, you’ll need to solder RGB LEDs onto the board.
- Configure the lighting: Use software or firmware like QMK or VIA to customize the lighting effects, brightness, and colors.
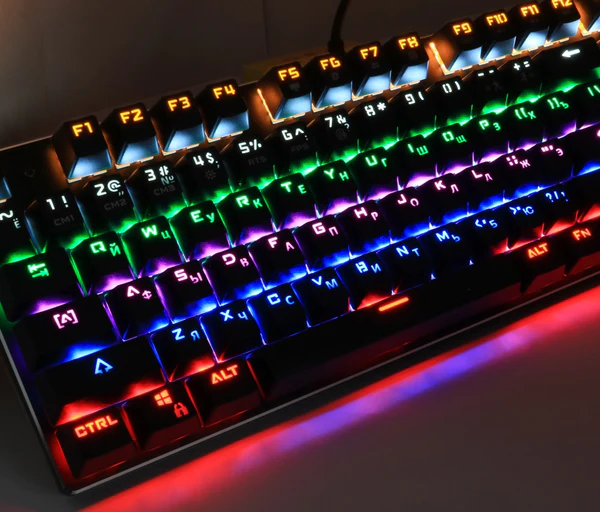
How to Make Your Gaming Keyboard Change Colors
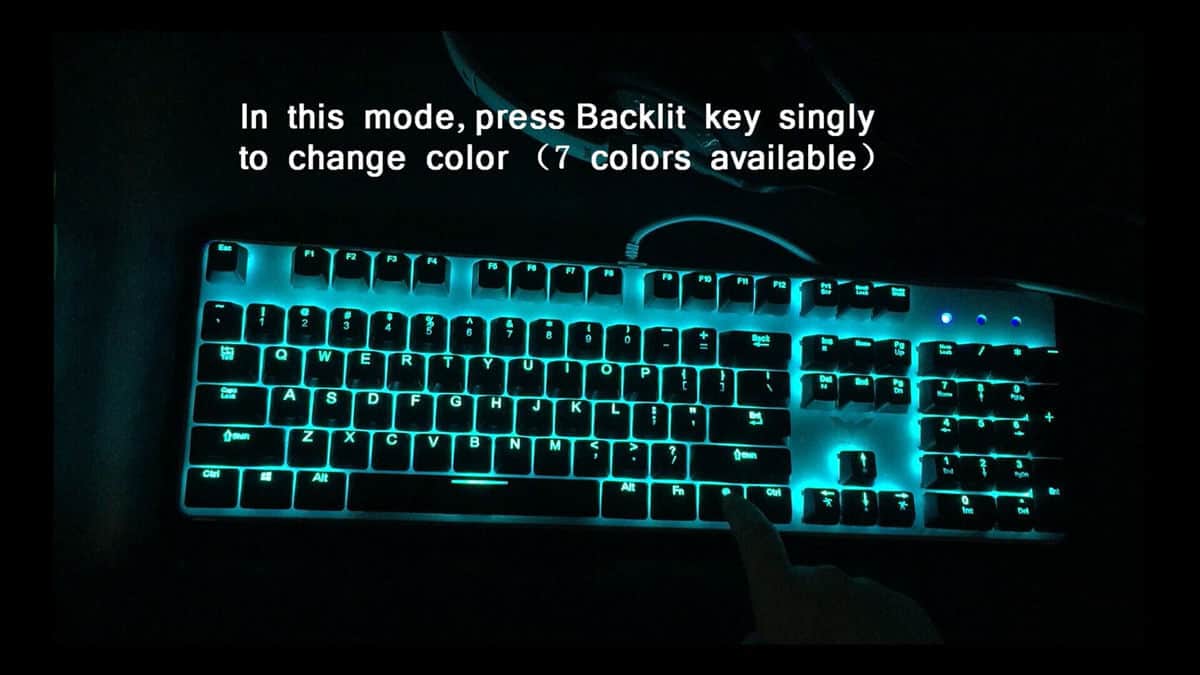
To enable color-changing capabilities on your gaming keyboard, follow these steps:
- Use an RGB-capable PCB: Ensure the PCB you choose supports RGB lighting.
- Install RGB LEDs: If not pre-installed, solder RGB LEDs to the PCB. Make sure they’re compatible with your chosen board.
- Configure the RGB settings: Use your keyboard’s firmware or software to customize the lighting effects, colors, and transitions.
How to Make Your Gaming Keyboard Quieter
To reduce noise from your gaming keyboard, consider these tips:
- Choose silent switches: Opt for switches designed for quiet operation, such as Cherry MX Silent or Zilent switches.
- Install O-rings: Place small rubber O-rings on the keycap stems to dampen the sound of key presses.
- Lubricate the switches: Apply a thin layer of lubricant to the switch components to reduce friction and noise.
- Use foam or padding: Add foam or padding inside the keyboard case to absorb sound and vibrations.
Cost of Building a Gaming Keyboard
The cost of building a custom gaming keyboard varies depending on the components and materials you choose. On average, you can expect to spend:
- PCB: $30 to $80
- Switches: $20 to $60
- Keycaps: $30 to $100
- Case: $40 to $150
- Stabilizers: $10 to $30
- Miscellaneous (O-rings, LEDs, etc.): $10 to $30
Overall, you can expect to spend anywhere from $150 to $ $450 or more on a custom gaming keyboard. Remember, higher-quality components and unique materials will typically come with a higher price tag.
Conclusion
Building your own gaming keyboard can provide a personalized, high-performance gaming experience tailored to your preferences. By understanding what makes a gaming keyboard different, selecting the right components, and customizing the aesthetics and functionality, you can create a keyboard that stands out and enhances your gaming sessions.
From making your gaming keyboard light up and change colors to making it quieter for a more immersive experience, the possibilities are endless. While the cost of building a custom gaming keyboard can vary, the investment is often worth it for the improved performance, ergonomics, and unique features that come with it. So, are you ready to build your own gaming keyboard? Follow the steps outlined in this guide, and you’ll be well on your way to creating a one-of-a-kind gaming peripheral that’s perfect for you.